|
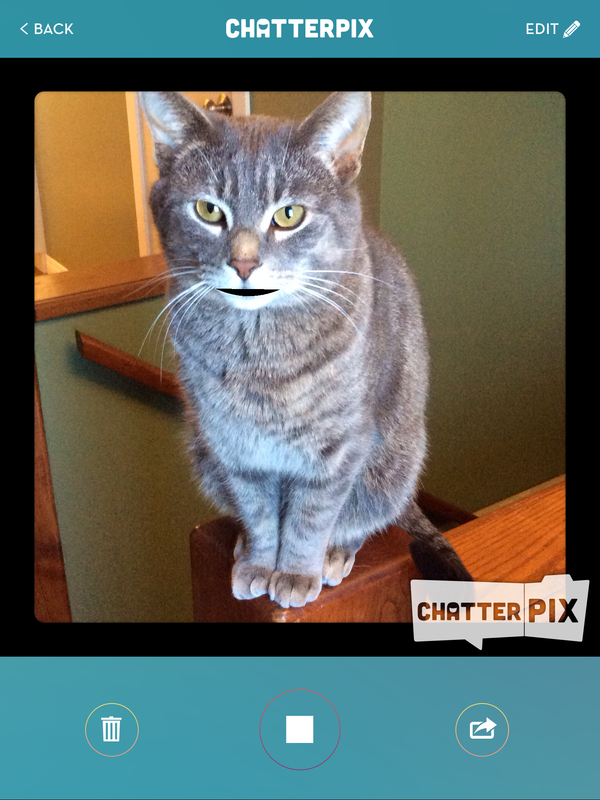
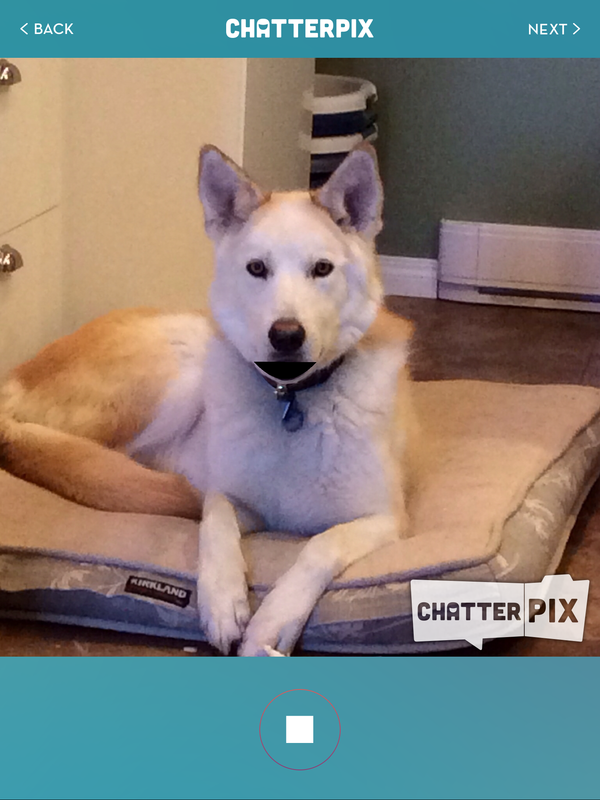
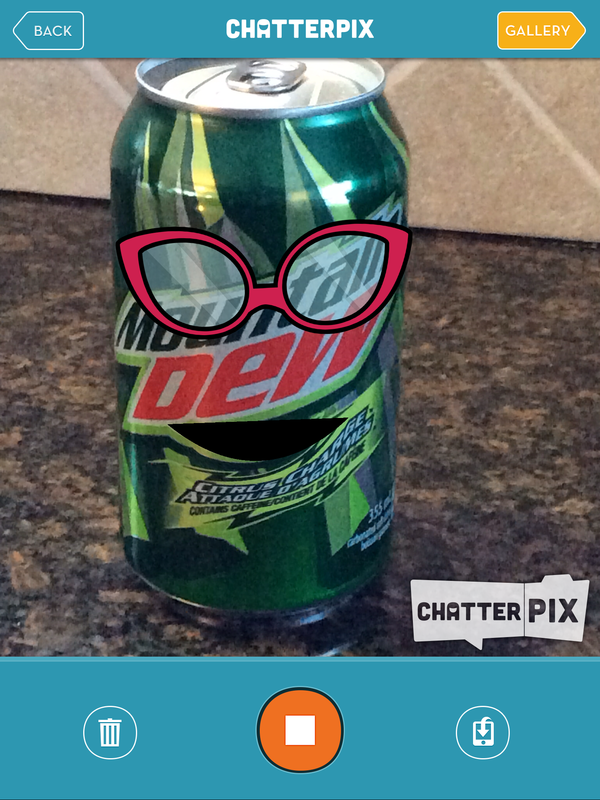
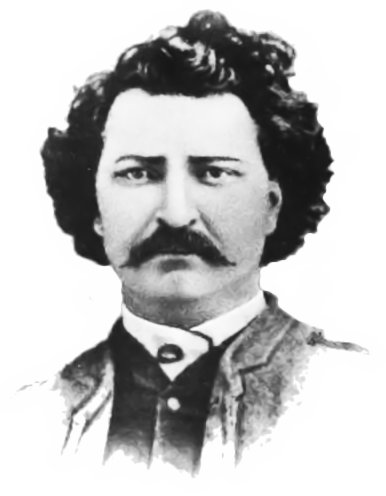
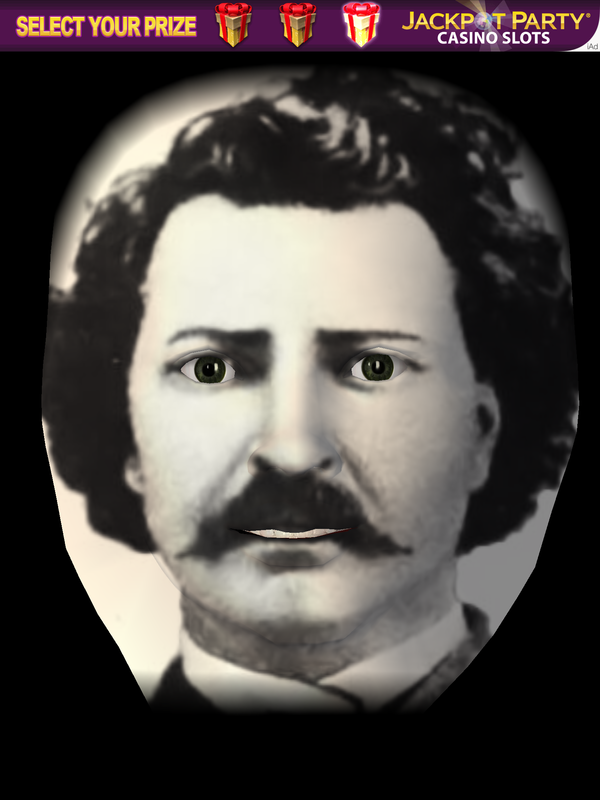
Another snow day in sunny Manitoba. Might as well make the most of it and write another blog post. I got to try out an awesome app with a class of Grade 2 students this week, and we had so much fun! Chatterpix and ChatterKid are basically the same app, but there are more sharing options in Chatterpix. To use the app, you upload a photo of, well, anything really. Then add a mouth and record your message. When you hit play, it seems as though the character is speaking, as the mouth moves appropriately with your words. It's a hoot! The day I was there, the students used Chatterpix to record a reading response. They had read a story and then illustrated the main character before I showed up. When I got there, I showed them how to take a picture of their illustration with the camera app on the iPads, and then we uploaded them into the app. The students drew a line with their finger where they felt the mouth should be and recorded a summary of the story. That's it! They caught on so quickly that within a 40 minute class, they were able to make several recordings. One of the best parts is the add-ons after you've recorded. Add stickers, frames and more. When you're all done, export as a video to your iPad's camera roll, or send directly as email or to Facebook. I tried it out at home with our pets, and I started wondering about other possibilities for this app in a classroom setting. How about a can talking about recycling? How about an ice cube telling about changes in matter? So many possibilities! And lots of fun! Did I mention that both versions of this app is free?!! 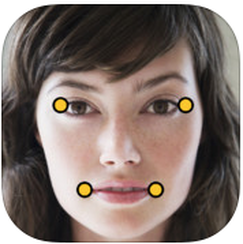 Morfo is the other free app I'd like to share with you today. This app is similar to Chatterpix, but a bit more sophisticated. I think Grade 2 students would have trouble with it, but probably Grade 4 and up would be able to handle it. To use this app, you upload or take a photo. This app requires a certain type of photo, however. The face must fully be faced forward, and it's best if the mouth is closed, or at least mostly. Once the photo is uploaded, you use your fingers to resize the face shape and match exactly where the eyes, nose and mouth are. Your next step is to record the voice. Then hit play. Now, not only is the mouth moving, but the eyes and head as well. It's even a bit creepy at times! You can add stickers and there's an in-app purchase of other options. Wouldn't it be great to use this app to make historical characters come to life? I tried one out with Louis Riel (for those of you not in the know, he was a respected Metis leader and one of the founders of Manitoba). You can see above the original photo and how I've changed the eyes and mouth, making the video match the audio. It would be so fun to do historical projects this way. Upload them to YouTube and add a QR Code to a paper project! Or add them to your class blog or school website. Oh, I get so excited about this stuff! Let me know if you have other suggestions for these great apps!
3 Comments
  More and more I'm becoming convinced that the way to get kids to understand (really, thoroughly, completely) is to get them to communicate their thinking. All of the professional development I've had the opportunity to take during my year and a half as Numeracy Lead Teacher has pointed me in that direction.
At a workshop this week, the participants were asked to look specifically at three of the six goals that our province has set out for mathematics instruction, which are:
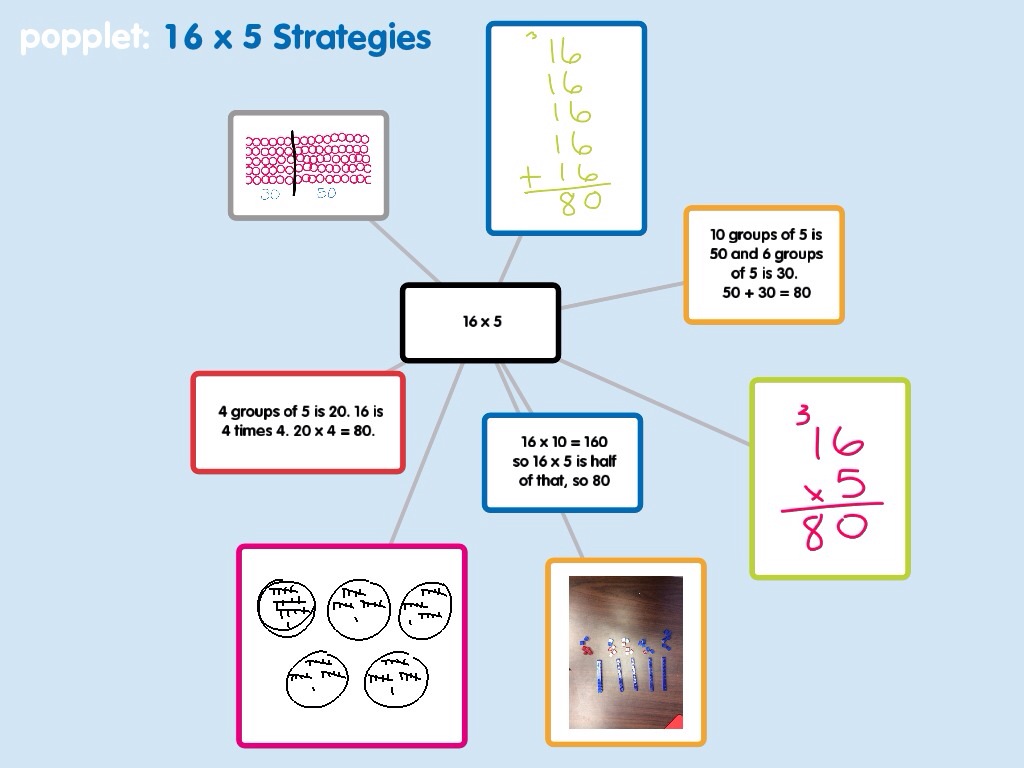
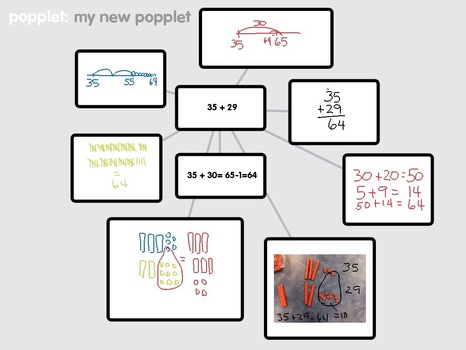
One activity to meet these goals would be to simply arrange the students into small groups or pairs, and ask them to list all of the ways they can think of to solve a mathematical equation. I'd like to take it a step further and ask them to use technology to gather and sort their ideas. Once they're convinced they've got all the ways they can think of, have them present their ideas to the rest of the class. In the picture above, I've used the app Popplet to record some possible ideas students may generate. Once the popplet is created, it can be shared through the iPad and an LCD projector, or saved as an image or pdf and emailed to the teacher, or saved to Dropbox. The last step could be to make a list of all the strategies the students have discovered as a whole class and sort them by least efficient to most efficient. There's sure to be some good debate going on there! Communicating, reasoning, efficiency, mathematical literacy and thinking critically, while integrating mathematics and technology. What a lesson! And all from one equation.  I have finished an amazing week with a wonderful bunch of Gr. 3- and 4-ers! Their teacher and I planned a reading response activity for them which included creating a book trailer for the book they had just finished reading. Before I arrived at their school, they had read the book and created a new book jacket for it. I made a trailer for a book as well, to show them what a trailer might like like. Here is the one I made for them about Goldilocks and the Three Bears, retold and illustrated by James Marshall. (I didn't take the time to make my own illustrations, as the students did, so I have to say the students' trailers are much, much better than mine! ) Together with the students, we created the criteria for their trailers, which we would make using iMovie. We decided that about half of the illustrations in the trailer should be their own. The trailers had to include the author's and illustrator's names, and we discussed the Fair Dealings copyright laws of Canada, which states that "short excerpts" of printed material can be reproduced for educational or review purposes. Because we wanted to upload the trailers to YouTube, we also discussed parental permission for putting their work online. Parents were asked to indicate exactly what their children could put online, including their work, their first name and their image. If permission was not granted, that child's trailer would only be viewed in class and not uploaded. If no name was to be used, the students used an alias. And if no image was to be included, we just made sure that no photos included the child's face. We really hoped that we could upload to YouTube, as we wanted to create QR codes for the trailers, as discussed below. 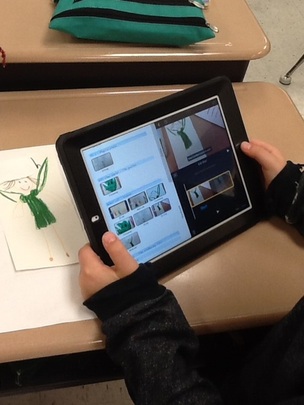 Then we got to work! Students learned how to take photos of their own and the illustrator's work, as well as how to resize, rotate and crop. Illustrations were created, and the trailers were viewed and reviewed many, many times! They also created some puppets of the characters in their books and videotaped scenes. Each student created their own trailer, as the school has 1:1 iPads on loan for several weeks. This meant that if they needed to videotape, collaboration between students would be required. It was busy and messy, but the learning in that classroom (including the teacher and me!) was amazing! Remember Bloom's Taxonomy? Creating is at the top. And while using the trailer templates didn't allow for complete creativity (lots of drag and drop), these students were definitely creating! Here's a great blog on using Bloom's Taxonomy with digital tools - the Bloomin' Peacock.
Lastly, once the trailers were completely finished, we uploaded to YouTube, and then used the share code to create a QR Code on goqr.me. We printed out the code and attached them to the inside cover of the books. Now, when students want to check out a book from the school or classroom library, they can use i-nigma or another QR Code Scanner app to easily view the trailers. (I wrote about using QR Codes in the classroom here.) I should mention that when we uploaded the trailers, we decided to make them unlisted. That means that if someone searches for the trailers, they can't be found. The only way someone can watch them online is if they have the link (or the QR Code). 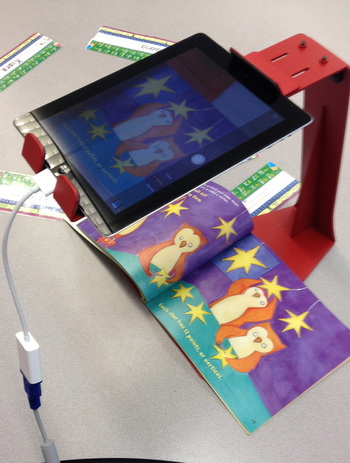 This is my new favourite thing - my document stand for the iPad. I have wanted a document camera ever since I saw one at a conference several years ago. The price tag was prohibitive though, and I learned to make do without one. This fall however, I purchased a Justand iPad Stand for less than $100. By fitting my iPad into the stand and setting it at a right angle (see picture left) my iPad becomes a document camera. I just have to turn the camera function on and connect my iPad to my LCD projector with a 30-pin to VGA adapter (sells for about $35). Now, whatever I have going on under the iPad is projected onto the screen for my students to see. This is a super option for demonstrations and shared reading.
The Justand can also be lowered so that it is just an iPad stand, making watching videos nice for small groups of students. It is also excellent for students to record video or stop motion animation. See why it's my new favourite thing? :) Happy New Year! I have been known to procrastinate, but hate when things are hanging over my head, so it's definitely time to respond to the sunshine blog in which I was mentioned. A sunshine blog is kind of like a Twitter chain letter. @tjthiessen mentioned me in her sunshine blog, so now I will repay the favour (thanks Tanis!). Here is the protocol:
So here goes: 11 Random Facts About myself.
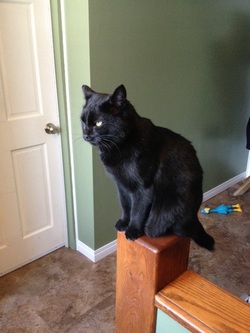 Photo: One of the free-loaders, Lumen. You can see the free-loading dog's rubber chicken in the background.
My Replies to 11 Questions
And finally, here are the questions I'd like these bloggers to answer: 1. Favourite holiday 2. Professional book you'd recommend to others 3. First teaching job 4. Favourite website or app 5. New Year's resolution 6. Your best teaching quality 7. A lesson your students have taught you 8. Best trend in education today 9. Past trend in education you're glad to have seen disappear 10. Personal choice: movie or book? 11. Retirement dream Thanks again Tanis! This was a great reflective opportunity, and fun! Happy New Year everyone! Lori |
Lori EmilsonTravelling Curriculum Support Teacher Archives
April 2017
Categories
All
|

 RSS Feed
