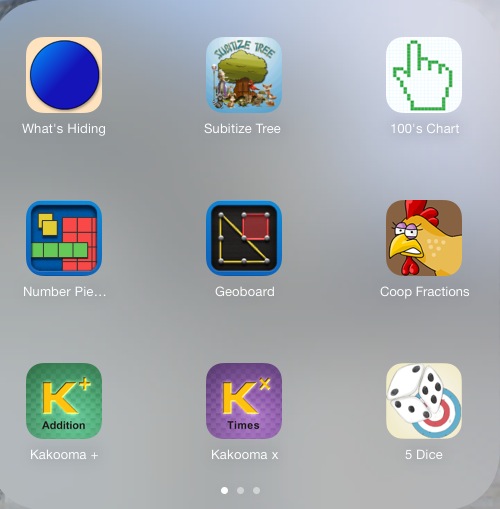
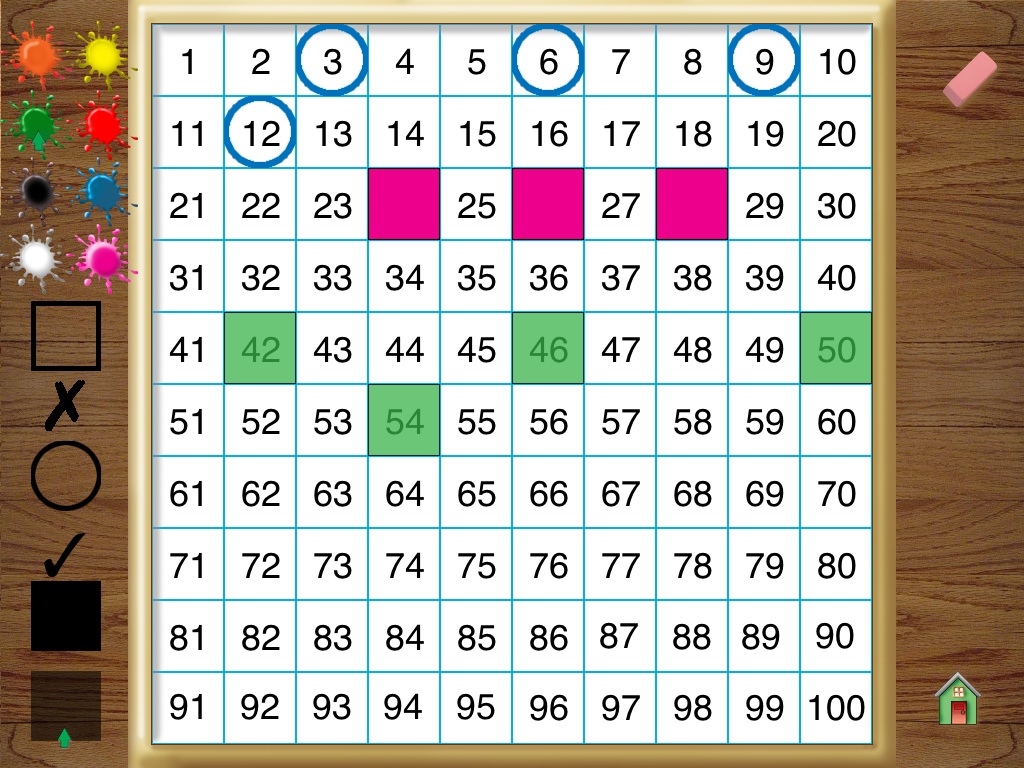
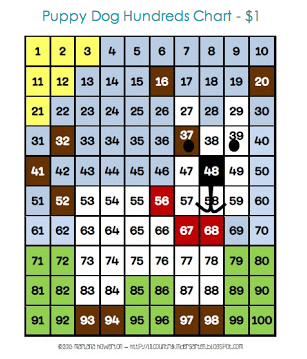
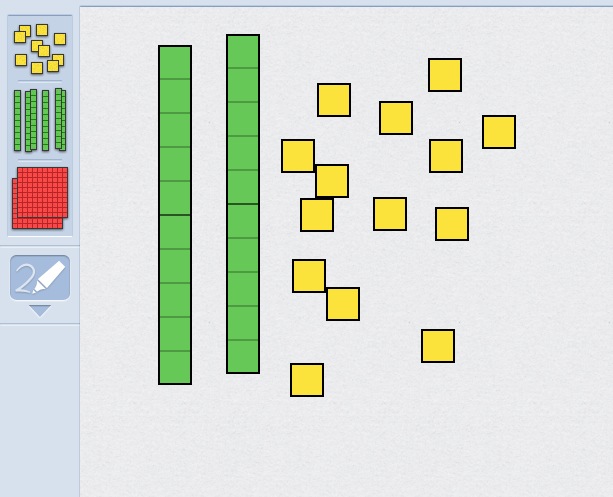
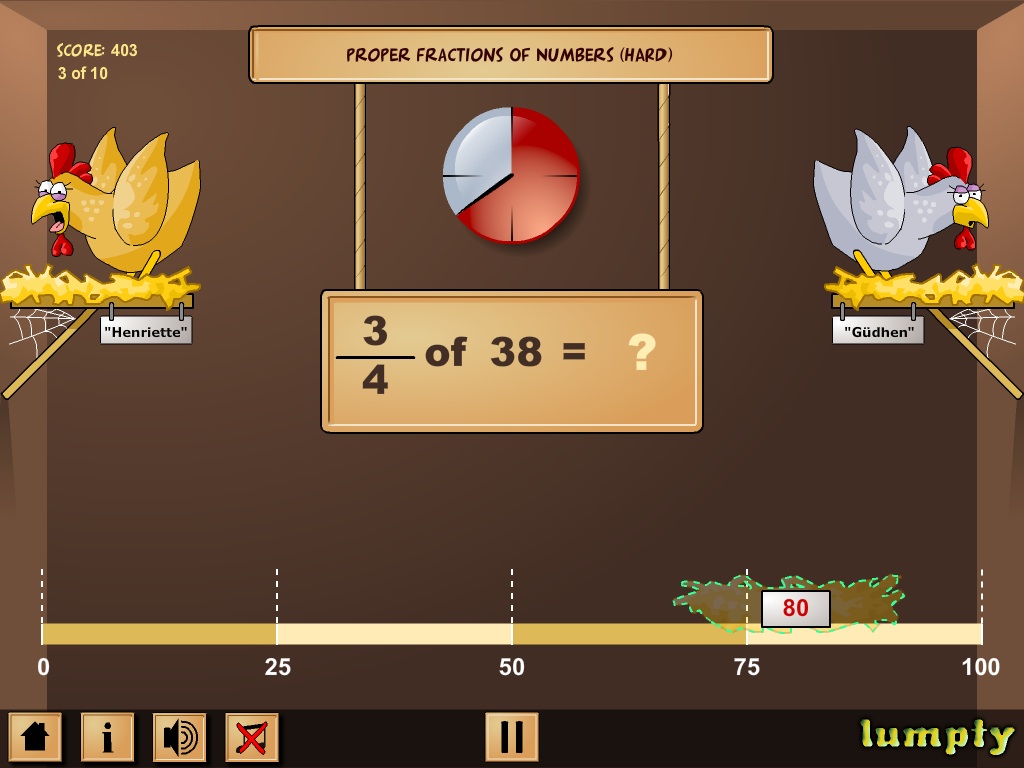
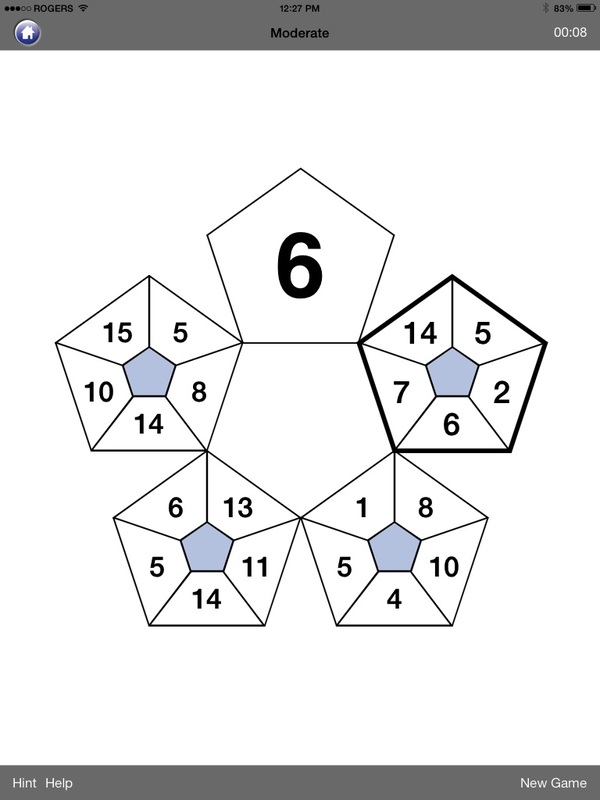
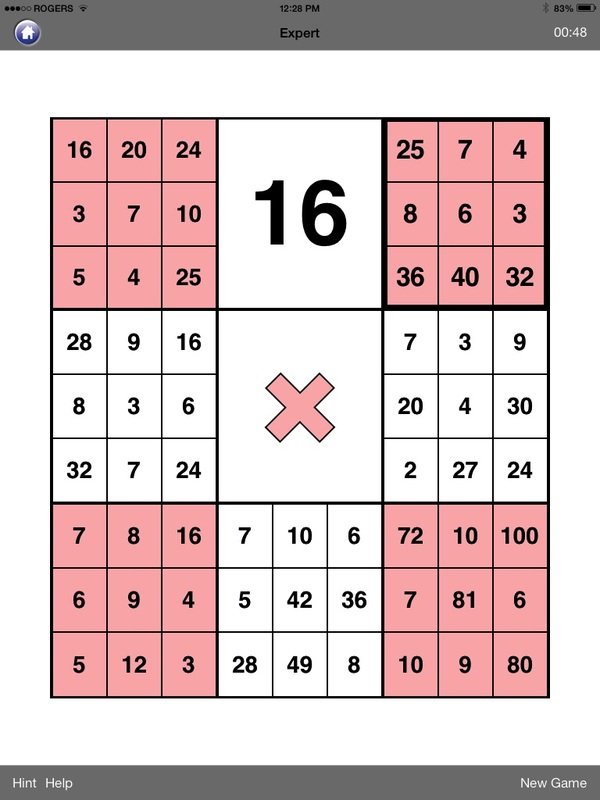
 OK, Part 2 of the last post. This list of 9 apps is the folder of math apps I use most often when I visit classrooms that are looking to integrate technology with their math program. These apps can be used as a work station for Guided Math, or tools for the teacher to use when instructing, or for the students themselves. They are also just fun for students to "play" with! These apps, if not free, are very affordable. 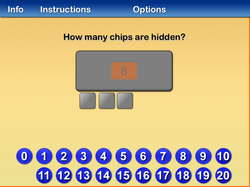 1. What's Hiding This math app is best for students in PreK-Grade 2. Students count the number of shapes that are shown and then the shapes are covered up. Some of the shapes are pulled out from under the cover and students must say how many are still underneath. Great counting, addition and subtraction practice, and wonderful for teaching inverse operation and the "use addition for subtraction" strategy. $0.99. 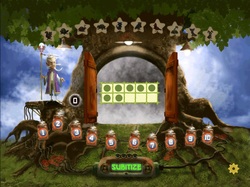 2. Subitize Tree I love this app! And kids do too! The old math ninja asks students to get ready for the doors on the tree to open up for a few seconds (3 levels of difficulty). Students have not quite enough time to count how many they see behind the doors before they close again. Then students say how many shapes were shown. If they are correct, they get a point. 4 points sets an animal free from the tree. The picture here shows a ten frame, but there are lots of options to choose from. Lots of fun! $0.99. 3. Hands-On Math Hundreds Chart This app is a blank Hundreds Chart onto which you can add circles, or black out or highlight numbers. Students can use the app as a tool in much the same way they use a regular 100 Chart, as support for addition, subtraction, patterns, etc. But teachers may use it to have students identify which number comes next in the pattern, which number would be the 10th number, name the pattern rule, and more. Or give students clues to the numbers to highlight, such as "Highlight this number blue: 5 x 9," or "Highlight this number yellow: two tens and one more." The finished product is a picture or word. The picture above is from a nice little blog called Lil Country Kindergarten. If you search for 100 Chart Pictures on Pinterest though, you'll find loads of these 100 Chart pictures, including an awesome sight words product from Jessica Travis! The app is $1.99. 4. Number Pieces Basic Number Pieces and Number Pieces Basic are two apps that use Base Ten blocks. Basically, anything you can do with Base Ten Blocks, you can do with this app. I really like how the blocks can be joined together, so that 10 units makes 1 ten (a long), and 10 longs can be joined to make 1 hundred (a flat). The blocks can also be broken up into smaller units. The only difference between them is that Number Pieces has a few more features, including a measuring tape that shows the dimensions of arrays that students build. This is an awesome teaching tool! FREE! 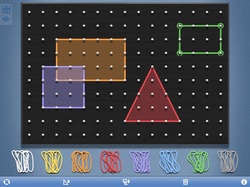 5. Geoboard This is another app that can be used just like the real item. One of the main differences between this app and the real thing is elastics that don't break, or go flying around the room! :) For younger students, ask them to make the various 2-D shapes. For older students, use for instruction on area and perimeter. Even creating arrays for multiplication facts would be useful. Shapes can be left blank or filled in. Kids love creating their own pictures with this app. The best part? It's FREE! 6. Chicken Coop Fractions This is a humorous app that students in Grades 4 and up enjoy. There are many different levels of difficulty, so even students in Grade 8 would be challenged by this game. The chickens in the coop each take turns laying eggs. The player must determine where to place the nest so that the egg lands softly. Players must estimate approximately where to place the nest on a number line according to the fraction given. Hilarious! And free. 7. and 8. Kakooma Addition and Kakooma Times I first heard about these games from Greg Tang at the NCTM conference in Chicago last year (which was an amazing conference, by the way, and I hope to go again this year!). These apps are wonderful for students' practicing their fact fluency. They play against themselves, receiving a score each time, and they try to beat their score with each game. There are four levels of difficulty (Basic, Moderate, Advanced and Expert). The first picture above is a Moderate Addition game. The shape that has a bold border is the series of numbers you look at first. Within the numbers shown, two of those numbers will add to a third number, which is the number to click. In the first picture, 5+2=7, so you click on the seven. Then go to the next series of numbers. The second picture is from the Expert Multiplication game. Way more numbers to choose from! There are Pro versions of these games, but they are more difficult. These games are free to play online from Greg Tang's website, and include an Integers and Fractions version as well. $0.99 each. 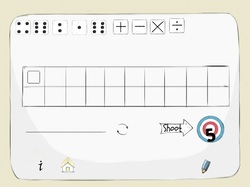 9. 5 Dice Order of Operations
I have seen this game played with a deck of cards and a few extra cards with the operations printed on them. You can choose the level of difficulty by clicking on which operations to include. You must use all 5 numbers and whichever operations you need to create the target number shown. The premise is simple, but it's really not that easy! For older students, the order of operations is in effect and must be considered (there is a level which includes brackets). Lots of fun, and quite challenging for older students. Free!
1 Comment
 I attended an awesome workshop last week. The presenter was Dr. Cathy Marks Krpan, and the topic was communication in math instruction. This workshop really brought together everything I've learned about differentiated math instruction and cooperative learning. I have used clotheslines in my classroom before. I've had students put numbers in order, and I've even used them in Word Work by asking students to arrange words into sentences (I even wrote the sight words on clothing-shaped paper!). But this goes one step further, and I tried it out on a Grade 8 class this week, as shown in the picture above. While working with a small group, and another group was working together on percentage task cards, one group of students was at the clothesline, which I draped across the whiteboard at the front of the classroom. The cards I had prepared included percentages, decimal fractions, regular fractions and representations of parts of 1. The students had to decide collaboratively which cards went where in order to place them from least to greatest. The cards that were equal could be clipped together. The language that was being used as they debated over which cards went where was some of the best discussion I've heard in a math classroom in a long time! It was wonderful, to say the least! This is an activity that could be used right across the grades. Kindergarten: Numerals, dot arrangements and ten frames. Grade 2: Numerals, number words, base ten blocks and addition/subtraction equations. Grade 5: Multiplication/Division equations, arrays, and numerals. Students could make patterns on the clothesline, skip count, order integers, sort shapes by attribute... I highly recommend this book. It is Math Expressions: Developing Student Thinking and Problem Solving Through Communication by Dr. Cathy Marks Krpan.  Many teachers struggle daily with differentiating their math instruction in order to meet the needs of all the learners in their classrooms. Guided Math is one way to provide the differentiation needed, as it allows the teacher to work with small groups of students while the rest of the class is engaged in meaningful math tasks. There is no cookie cutter solution, however, and teachers must find the method that works best for them. Here are a few structures I have learned about, based on a 75-minute math class (in Manitoba, math instruction is recommended to be 15% of the school day for Grades 1-6 and 17% for Grades 7 and 8). 1. 15 minute mini lesson, followed by 4 work stations. One of the work stations is with the teacher, and the other 3 are practice stations (math games, using manipulatives, math project, math literature, math with technology, etc.). Students spend approximately 15 minutes at each station, and students are grouped by like ability. Students rotate through each station once per class. Photo credited to: Enoch Lau  2. 30 minute lesson with the whole class, which may be teaching a problem solving strategy or mental math activity. Students then choose 2 math stations that they work on for the next 45 minutes (20-25 minutes per station). Students make the choice themselves, but must go to all the possible stations within a 1-week period. Teachers pulls 3-6 students at a time to work on a math outcome that needs review or extension. Photo credited to: kfergos Photo credited to: MrSchuReads 3. Students have been taught to start a math task independently (such as Nifty Number, Toad Code, Math jobs) or there is another adult in the room (co-teacher or Educational Assistant). When the task is completed, students go to a math work station of their choice. While this is happening, the teacher is calling 3-6 students together to work with him/her on a math topic.
There are lots of options about what the work stations or centres look like too. MATH M=Math Games A=At Your Desk (independent work or reading math literature) T=Teacher Time H=Hands-On (using manipulatives, working on projects, etc.) BUILD B=Buddy Games U=Using Manipulatives I=Independent Reading/Writing/Work L=Learning About Numbers D=Doing Math (practice with a new strategy) Math Daily 5 Math by Myself Math With Someone Writing About Math Math Technology Math Group This topic is so huge! There's no way I can write about it in one post. I'll be posting more info at another time. Watch for it! 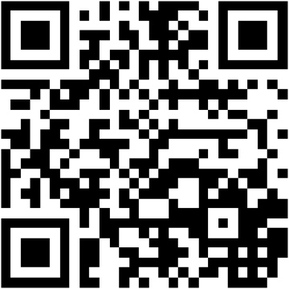 I've been thinking about Guided Math a lot lately. This is something I've modelled in many classrooms over the last year and a half that I've been in this support role, and I am attending a workshop on Tuesday on Guided Math Gr. 3-6, so I hope to blog more on this topic next week. Today I want to talk about how the iPad and, more specifically, the use of QR Codes can play a part in Guided Math workstations. One of the stations in your rotation during Guided Math may be related to technology. Certainly the use of math-specific apps is popular for this. Some of the great math apps for early years students (ones that I like, anyway) include Subitize Tree, What's Hiding and Kakooma. But there are so many wonderful activities available on the web. The problem is that often the web address is long, and has to be entered exactly or it doesn't work, which is a real problem for our youngest learners for sure. Here's where QR Codes come in. 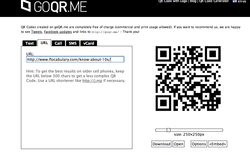 QR stands for Quick Response. I'm sure you've seen them around. They got their start mainly for advertising purposes, but they can play a wonderful role in education too, and it's so easy! You will need to install a QR Code reader on your iPad, iPod, or whatever mobile device you're using in your classroom. I like i-nigma, which is free. To read a code, you simply hold your device up to the code, and the program automatically reads it and takes you to that website. It's like magic, honestly! To make a QR Code, go to any of the free QR Code making websites. I like GOQR, wich is in the picture above. QR Codes can be made to display a text message, a phone number, video, audio file, and so much more, but for now I'll just talk about how to use it for websites. Open the "URL" tab on the site, and use copy/paste to insert the website address you want your students to visit. Click enter and the QR Code is displayed immediately. Now right click, and copy or save the image. That's it. Done. Easy-peasy. The QR Code at the top of the page, once read, will take you to a Flocabulary video of the rap song "Know About 10s." I had the students take their iPads, use i-nigma to read the QR Code which I had printed out on a sheet of paper, and then they could watch and sing along to the song, which reinforces the numbers that add up to 10. (Flocabulary is another new find of mine. It's subscription-based, but has a free trial, and many of the videos can be found on YouTube as well.) This was done in a Gr. 1/2 classroom, and the students had no trouble using the QR Code.  Another day this week I was in a Grade 8 classroom. We were doing a project calculating the amount of sugar in various drink containers, and I wanted the students to read up on sugar consumption. I found a great infographic from Dr. Joe Today that I wanted them to read and analyze. I could have printed off the infographic, or read it to them, but instead I created the QR Code at the left and the students went straight to the site that housed the infographic, and read it on their own. In this case, I projected the QR Code onto the whiteboard, which worked well.
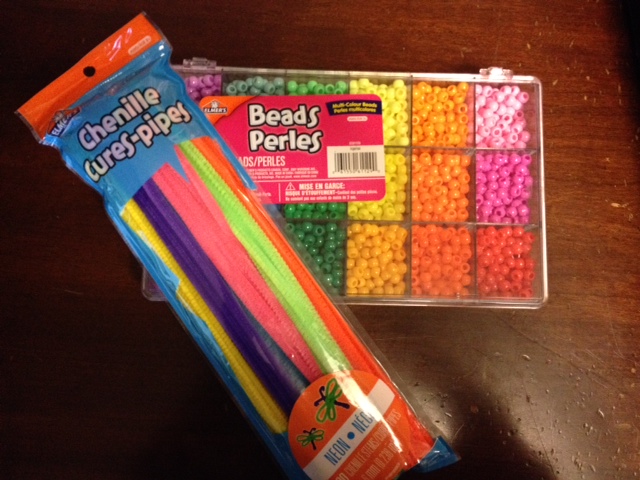
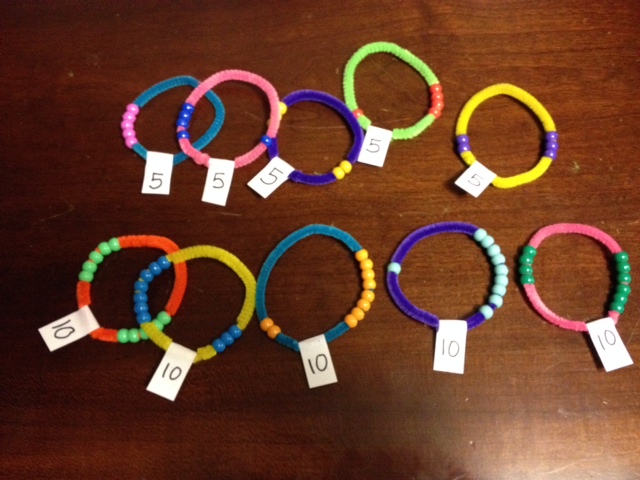
I love using QR Codes with students! Not only does it make going to websites fast and easy, but there's also a certain coolness factor surrounding them. Check it out. It's really easy! 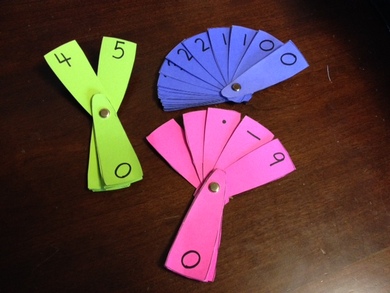 Project #1: Number Fans I use number fans from Kindergarten through Grade 8. I use the number fans for students to show me the answer when I give them mental math questions. I include two of each digit (0-9) so that double digit numbers can be shown. At the back of the fan I usually include a blank strip because sure enough, at least four children will lose a digit (a numeral digit, not a finger lol) and it's easier to just write the missing digit on a blank strip than to find the correct colour cardstock, then cut and add it to an existing fan. Trust me on this. For middle years students, I also include a decimal and sometimes a minus sign, to indicate negative numbers. Here's how to make a number fan: 1. Photocopy a pattern onto coloured cardstock. Copy paper is too flimsy. There are many patterns available online. Here is one from Kindergarten Lifestyle: Number Fan. Make sure you have two of each digit for each student. 2. The most tedious part of this project - cut out all of the cards and punch a small hole near the bottom. 3. Arrange the digits in the following order: 0, 0, 1, 1, 2, 2... Attach the strips together with a paper fastener. To use the fans, I ask the students a mental math question. They must silently figure out the answer in their head, and then show me the answer with their fans. I write down all of the answers that I see, and then call on a student to explain their answer to me. Then we discuss the other answers that I saw and discuss why that answer might have been given. In other words, think about others' thinking. What was done wrong? Why do you think that person did that? Project #2: Number Bracelets I use number bracelets with Kindergarten and Grade 1 students. I introduce the bracelets with 5 beads, and then 10. To make one: 1. Cut about 5 cm from a pipe cleaner (chenille stem). 2. String beads of the same colour onto the pipe cleaner. 3. Shape the pipe cleaner into a circle and wrap the ends together, forming a bracelet. It doesn't matter if the bracelets don't fit your students' wrists, as they don't wear them. 4. Fold a mailing label over the twisted ends so that little fingers don't take them apart, and won't poke themselves. 5. Write the number of beads on each side of the label. That's it! Easy peasy. In Kindergarten, I would make a bracelet for each student, starting with 5 beads. Ask how many beads are on the bracelet. How many are on each side? Can you move the beads around to change the number of beads on each side? Discuss, discuss, discuss! Once the students have a good grasp of all the ways to make 5 (that part-part-whole understanding is soooo important, so don't rush!), move on to the 10 bead bracelets. In Grade 1, students can record all the ways to make each number. If you are using Math Work Stations, this is a great activity, and you won't need one for each student, although you could add number bracelets for each number up to 10. You could also make cards of the form: 4 + __ = 10. Donna Boucher, that wonderful math coach from Math Coach's Corner has a whole unit related to number bracelets that I'm sure you would enjoy. You can find it here: Developing Fluency with Number Bracelets. 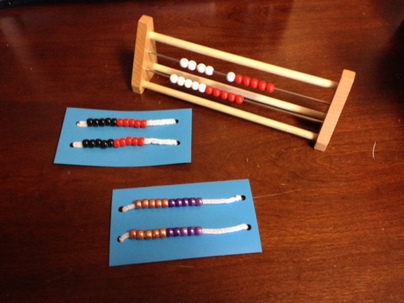 Project #3: Rekenrek Many people relate a rekenrek to the abacus from school days of long ago. They are similar, and rekenreks can be purchased in many different sizes. The size I prefer to use is two bars of 10. They vary in price, but are usually around $5 each. Here's one I found online from Canadian Education Warehouse. The purchased ones are very durable, of course, but if money is an issue (and in education, when isn't money an issue?) here's one way to make your own: 1. Cut from craft foam or heavy plastic (I used craft mats that I purchased from a Dollar store, or a plastic binder cover would work too) rectangles measuring about 3 x 5 inches. 2. Use a hole punch to make four holes, two at each end. 3. Count out 10 beads each of two colours. 4. Thread 5 beads of one colour and 5 beads of the second colour onto a pipe cleaner, or chenille stem. Do the same to a second pipe cleaner. 5. Thread the pipe cleaner through the holes of the rectangle as shown above and bend the ends over at the back. Add a drop of hot glue or sticky tape to hold the ends in place. Rekenrek activities are the same types of learning activities you would use with two ten frames. I will be writing a blog post in the near future about using the rekenrek in the classroom, but here is a great resource you can use now from K-5 Math Teaching Resources. 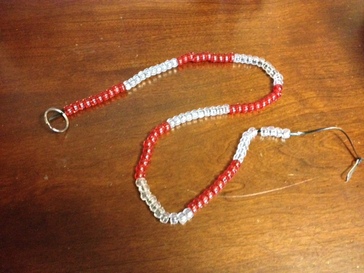 Project #4: 100 Bead String
The last project for this post is the 100 bead string. The name is pretty self-explanatory. Basically, it's a cord about 1 metre long (a little less is fine) with 100 beads of two colours, alternating colours in groups of 10. I either make a loop at each end of the cord, or attach some sort of key ring. The cheapest I have found these online is $12, and I knew I could make them cheaper than that! I used plastic cord that I bought from Walmart, but a shoelace would work well too. I purchased two large bags of single colour pony beads there as well. Students use the bead string in a similar way that they would use a 100 Chart. To add two numbers together, simply count out the first number (using their knowledge of tens and ones) and then add the second number. Now count the beads (easy to count them in groups of 10!) to determine the sum. Subtraction is done the same way. One great strength of the 100 bead string is when you are making 100 or subtracting from 100, a very useful strategy for making change when shopping. For example, I have $1. I spend 38 cents. How much change will I get back? Many of my Grade 2 and 3 students preferred using the bead strings to the 100 Chart if they were kinaesthetic learners. I made enough for each student in my class. |
Lori EmilsonTravelling Curriculum Support Teacher Archives
April 2017
Categories
All
|


 RSS Feed
